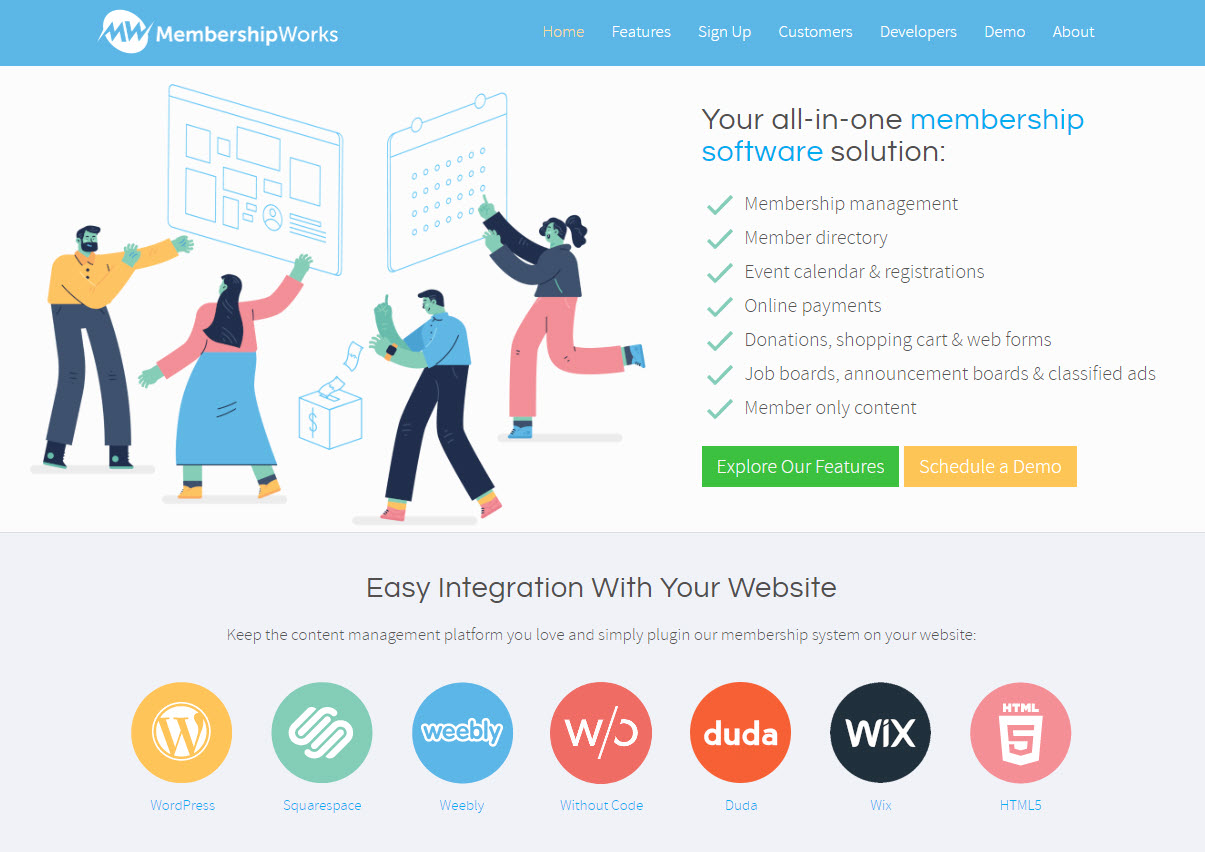
MembershipWorks offers a powerful all-in-one membership management solution that complements WordPress beautifully. With a focus on flexibility and accessibility, this dynamic duo can accommodate associations of various sizes and missions. With features like membership management, an extensive member directory, event calendars, online payments, and even job boards, it’s no wonder why many choose WordPress and MembershipWorks as their go-to platforms.

Step 1: Sign-up for a MembershipWorks Account
Before you dive into the installation process, you’ll need a MembershipWorks account at membershipworks.com.
Step 2: Installing MembershipWorks Plugin
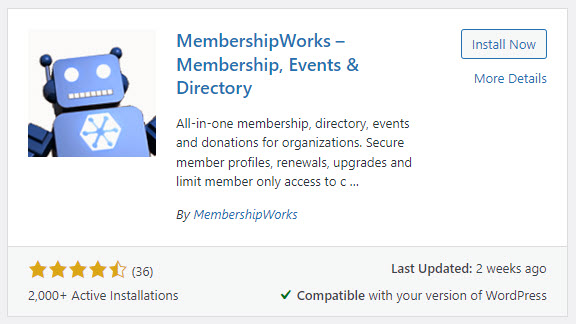
- Navigate to your WordPress dashboard and go to `Plugins > Add New`.
- Search for “MembershipWorks – Membership, Events & Directory”
- Click `Install Now`
- Then click`Activate`.
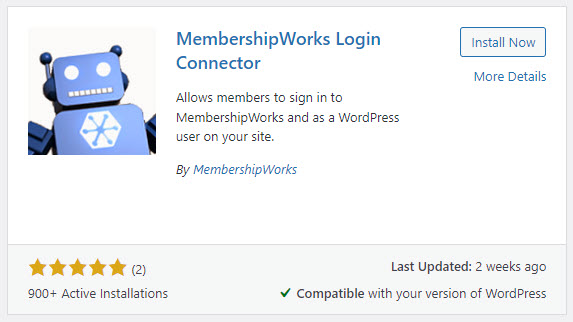
Additionally, you may consider installing the MembershipWorks Login Connector. This secondary plugin allows members signing in to MembershipWorks to be simultaneously signed in as a WordPress user, enabling more seamless integration with other WordPress plugins.
Step 3: Navigating the MembershipWorks Admin Area
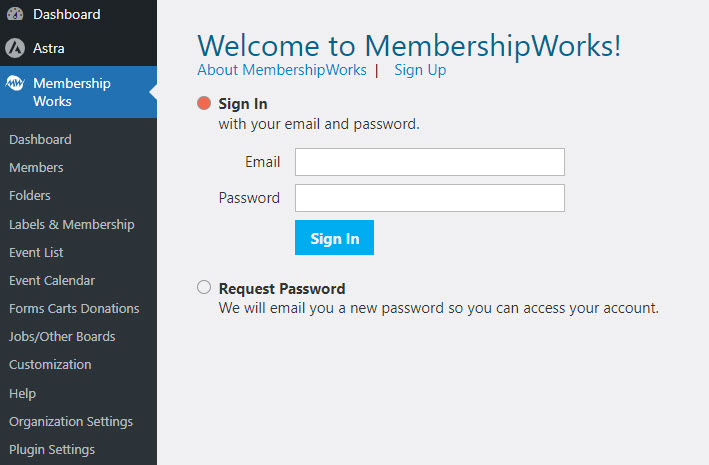
Once the MembershipWorks plugin is installed and activated, you’ll notice a new layer of admin control within your WordPress backend—this is the MembershipWorks Admin Area. Logging in here is crucial because it’s separate from your usual WordPress login, and it grants you access to a plethora of features and settings designed to help you manage your membership more efficiently.
Admin Menu Structure
Here’s a quick overview of the menu structure you can expect to see:
- Dashboard: This is your command center for MembershipWorks.
- Current Stats: View real-time stats related to membership counts, payments, and more.
- Stats History: A historical look at your organization’s performance.
- Financial: Keep an eye on all monetary transactions here.
- Membership: Track membership metrics and insights.
- Events: Your event-related statistics are displayed here.
- Forms: A summary of form submissions and interactions.
- Timeline: A chronological account of all activities within the system.
- Members: This is where you manage individual and company profiles.
- Folders: Organize your members by creating folders for easy access and management.
- Labels & Membership: Customize and assign labels to various member categories.
- Event List: Create and manage events here.
- Event Calendar: View all your scheduled events in a calendar layout.
- Forms Carts Donations: Build forms, set up shopping carts, and manage donations here.
- Jobs/Other Boards: This is where you set up job boards, announcement boards, and classified ads.
- Customization: Modify how your forms, directories, and other elements look.
- Help: Tutorials and support articles to assist you in making the most of MembershipWorks.
- Organization Settings: Set global settings that affect your entire MembershipWorks setup.
Step 4: Getting Hands-on with MembershipWorks Shortcodes
MembershipWorks provides a robust list of shortcodes that you can use to integrate various functionalities into your WordPress site. Knowing where to find these shortcodes and how to use them effectively is crucial.
Where to Find Shortcodes
You can find all of MembershipWorks’ available shortcodes by navigating to `MembershipWorks -> Help -> Basics & Setup -> WordPress -> WordPress shortcodes`.

Shortcode Options
Here are some of the shortcode options available:
- Member Directory: Display a comprehensive list of members.
- Member Map: Show a map featuring the locations of your members.
- Member Deals: Feature special deals available to members.
- Event Calendar: Add a calendar with upcoming events.
- Event Calendar (Inverted Colors): A version of the Event Calendar with inverted colors for better theme compatibility.
- Event List: List upcoming events in a simplified format.
- Member Add Event: Allow members to add events.
- Membership Sign-Up Form: Include a sign-up form for potential members.
- Member Sign-In and Manage Account: Facilitate member sign-ins and account management.
- Member Sign-In and Redirect: Direct signed-in members to a specific page.
- Member Manage Open Invoices: Allow members to handle open invoices.
- Sign Out: Include a sign-out button.
Testing Shortcodes
To test the effectiveness of these shortcodes, especially one like the “myaccount login,” you’ll want to start from a logged-out state. We recommend using an incognito browser for this purpose to ensure that no previous sessions interfere with your testing.
Step 5: Set Up Payment Gateway
For Stripe:
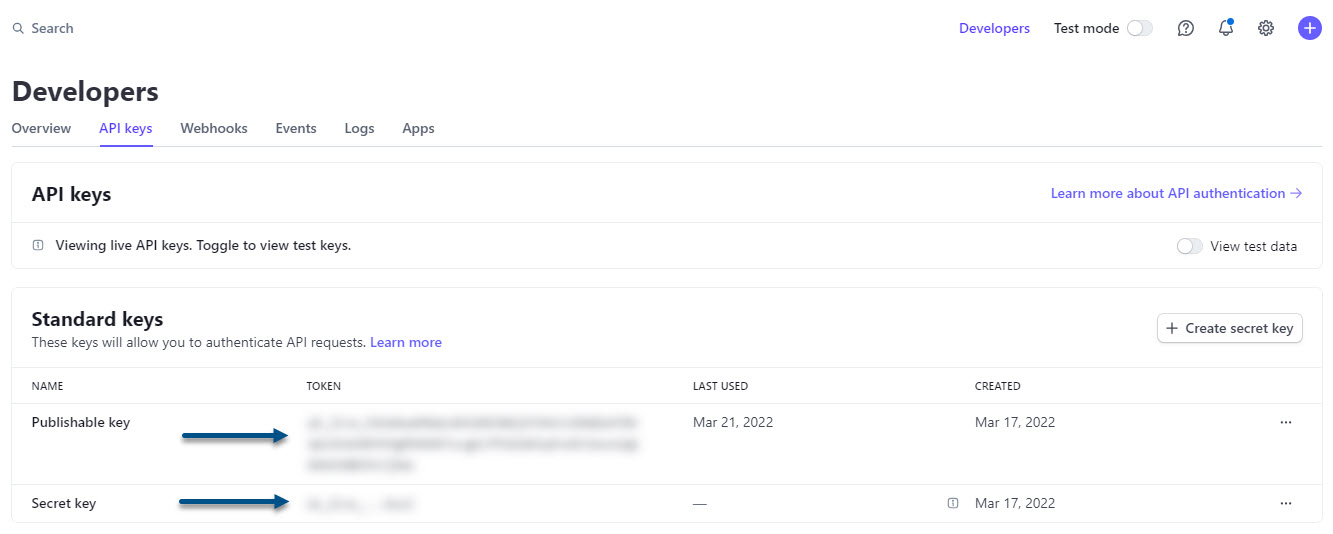
- Sign Up & Activation: Head to Stripe’s website to sign up or log in and activate your account.
- API Keys: Navigate to your Stripe dashboard to find and copy your live API keys.
- MembershipWorks Integration: Go to Organization Settings > Integration > Payments in MembershipWorks. Choose Stripe as your gateway and paste the API keys.
- Webhook: MembershipWorks usually sets this up automatically. If not, manually add a new webhook in Stripe with the URL”https://api.membershipworks.com/fi/pay”.
- SSL & PCI Compliance: Make sure your site uses SSL.
- Final Test: Complete a membership signup to confirm everything works.
For PayPal Website Payments Pro:
- Credentials: Log into PayPal, go to Settings, and obtain your API Username, Password, and Signature.
- IPN Setup: Add the Notification URL as “https://api.membershipworks.com/fi/pay” and enable IPN messages.
- MembershipWorks Integration: Select PayPal Website Payments Pro as the gateway and enter the API credentials.
- Final Test: Similar to Stripe, complete a test membership signup.
For PayPal Payflow Pro:
- API User: Create an API user in Paypal Manager under Account Administration > Manage Users.
- MembershipWorks Integration: Enter the new user’s login and password along with merchant login and partner ID.
- Security Settings: Verify your security settings in Paypal Manager are adequate.
- Final Test: Test a membership signup.
For Authorize.net:
- API Credentials: Add your API Login ID and Transaction Key in MembershipWorks.
- Silent Post URL: Enter “https://api.membershipworks.com/fi/pay” in the URL box in your Authorize.net account.
- Form Fields: Uncheck any ‘required’ fields in the Payment Form settings in Authorize.net.
- Recurring Billing & CIM: Enable Automatic Recurring Billing and Customer Information Manager (CIM) if needed.
- Final Test: Again, complete a test membership signup.
Step 6: Setting Up Membership Levels and Billing Options
What is a Membership Level?
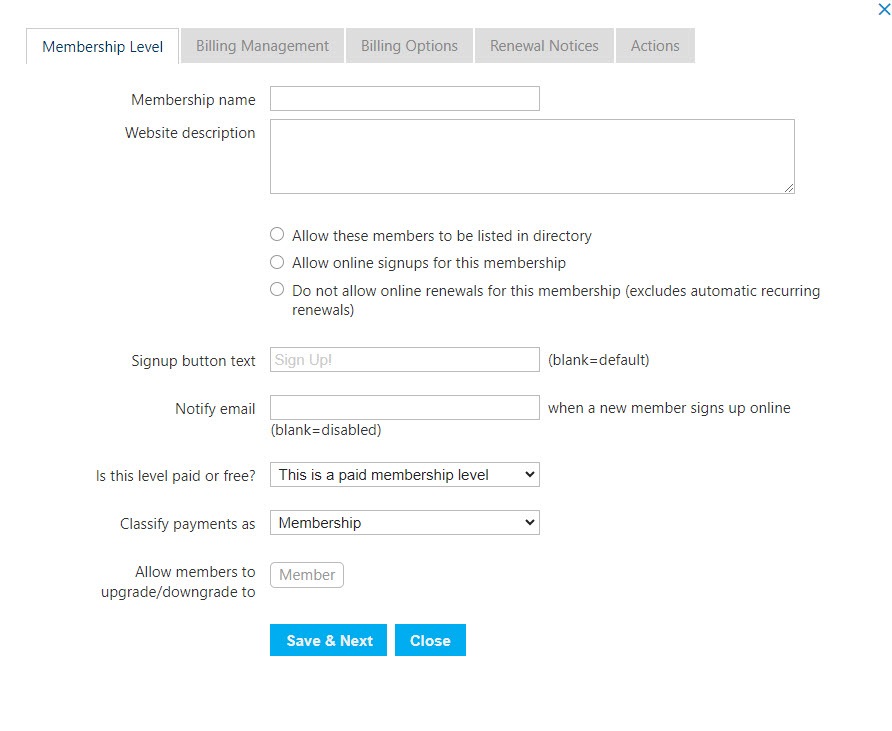
A membership level outlines the set of privileges, benefits, or access that a member will receive upon joining your organization. You may offer multiple membership levels to cater to various types of members such as professionals, students, or corporate partners.
Billing Options
Billing options define how your members can pay for their membership. Once you have created a membership level, you’ll need to create billing options for it. Billing options for a membership level are considered equivalent, meaning that a member should be able to switch billing options without penalty.
Click on “Add Billing Option” to create a new one. You can have multiple billing options, but too many choices could confuse your members and lower conversion rates.
Billing Option Settings
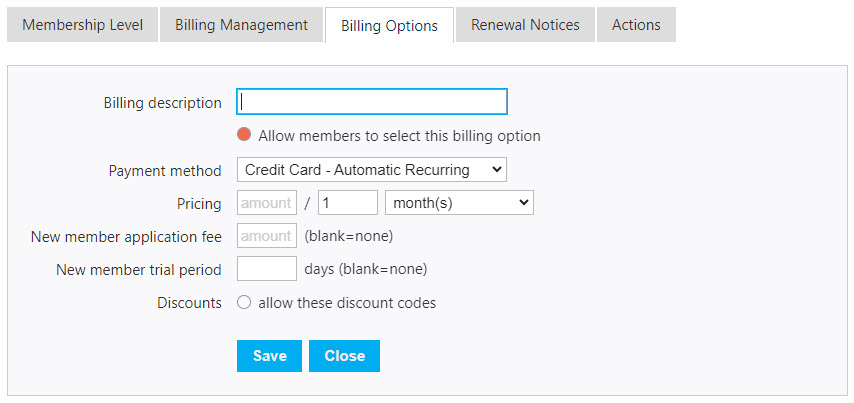
Here’s a rundown of the available settings:
- Allow members to select this billing option: Use this to control who can see and use this option.
- Payment type: Here you can select among several billing types
- Credit Card – Automatic Recurring: This automates the payment process, with members’ credit card details stored for future billing.
- Credit Card – Online: Members have to log in and manually pay each time a billing period ends. This could be cumbersome for short billing cycles like monthly payments.
- Offline Billing: This option enables payments via check or in person. You must provide payment instructions, and you’re responsible for manually updating each member’s account upon payment.
- Pricing and interval: Specify the cost and whether it’s a one-time, monthly, or yearly payment.
- New member application fee: Charge an additional fee for new members if needed.
- New member trial period: Offer free membership for a set number of days.
- Discounts: Enable or disable discount codes.
- Allow members to request/generate invoice: Useful for offline billing options.
Step 7: Final Testing and Launch
Before going live with your MembershipWorks integration, it’s crucial to test everything out to ensure it’s working as expected.
Check Functionality
Go through the list of shortcodes you’ve implemented, the payment gateways, and membership levels. Ensure that they all function as they should.
User Experience
Use a variety of devices and browsers to navigate your site. Check if everything is user-friendly and displays correctly.
Test Payments
Perform some test payments to ensure that transactions go through smoothly. If you’re using Stripe, they offer a test mode for this.
Review Notifications and Emails
Make sure automated emails and notifications are correctly configured and reaching their destinations.
Go Live
After you’ve double-checked everything, it’s time to go live. Monitor the website and incoming memberships for the first few days to address any unexpected issues.
Conclusion
Now you are ready to harness the magic of the WordPress / MembershipWorks integration. By following this walkthrough, you’re setting the stage for a smoother, more robust membership management system that can scale with your organization’s needs. Remember, testing is your friend; the more thorough your pre-launch checks, the smoother your live operations will run. Now you’re all set for a seamless MembershipWorks experience, leaving both your members and admin team happier and more efficient.
For a comprehensive guide on integrating MembershipWorks with WordPress, refer back to our Ultimate Guide to Building Association Websites with WordPress and MembershipWorks.
As a WordPress agency and MembershipWorks partner, we’d love to help you install MembershipWorks. Feel free to reach out through our contact form, or give us a call at 877-302-2185.
